Patient List
- Click on Add User Icon at the top right corner (Header Portion).
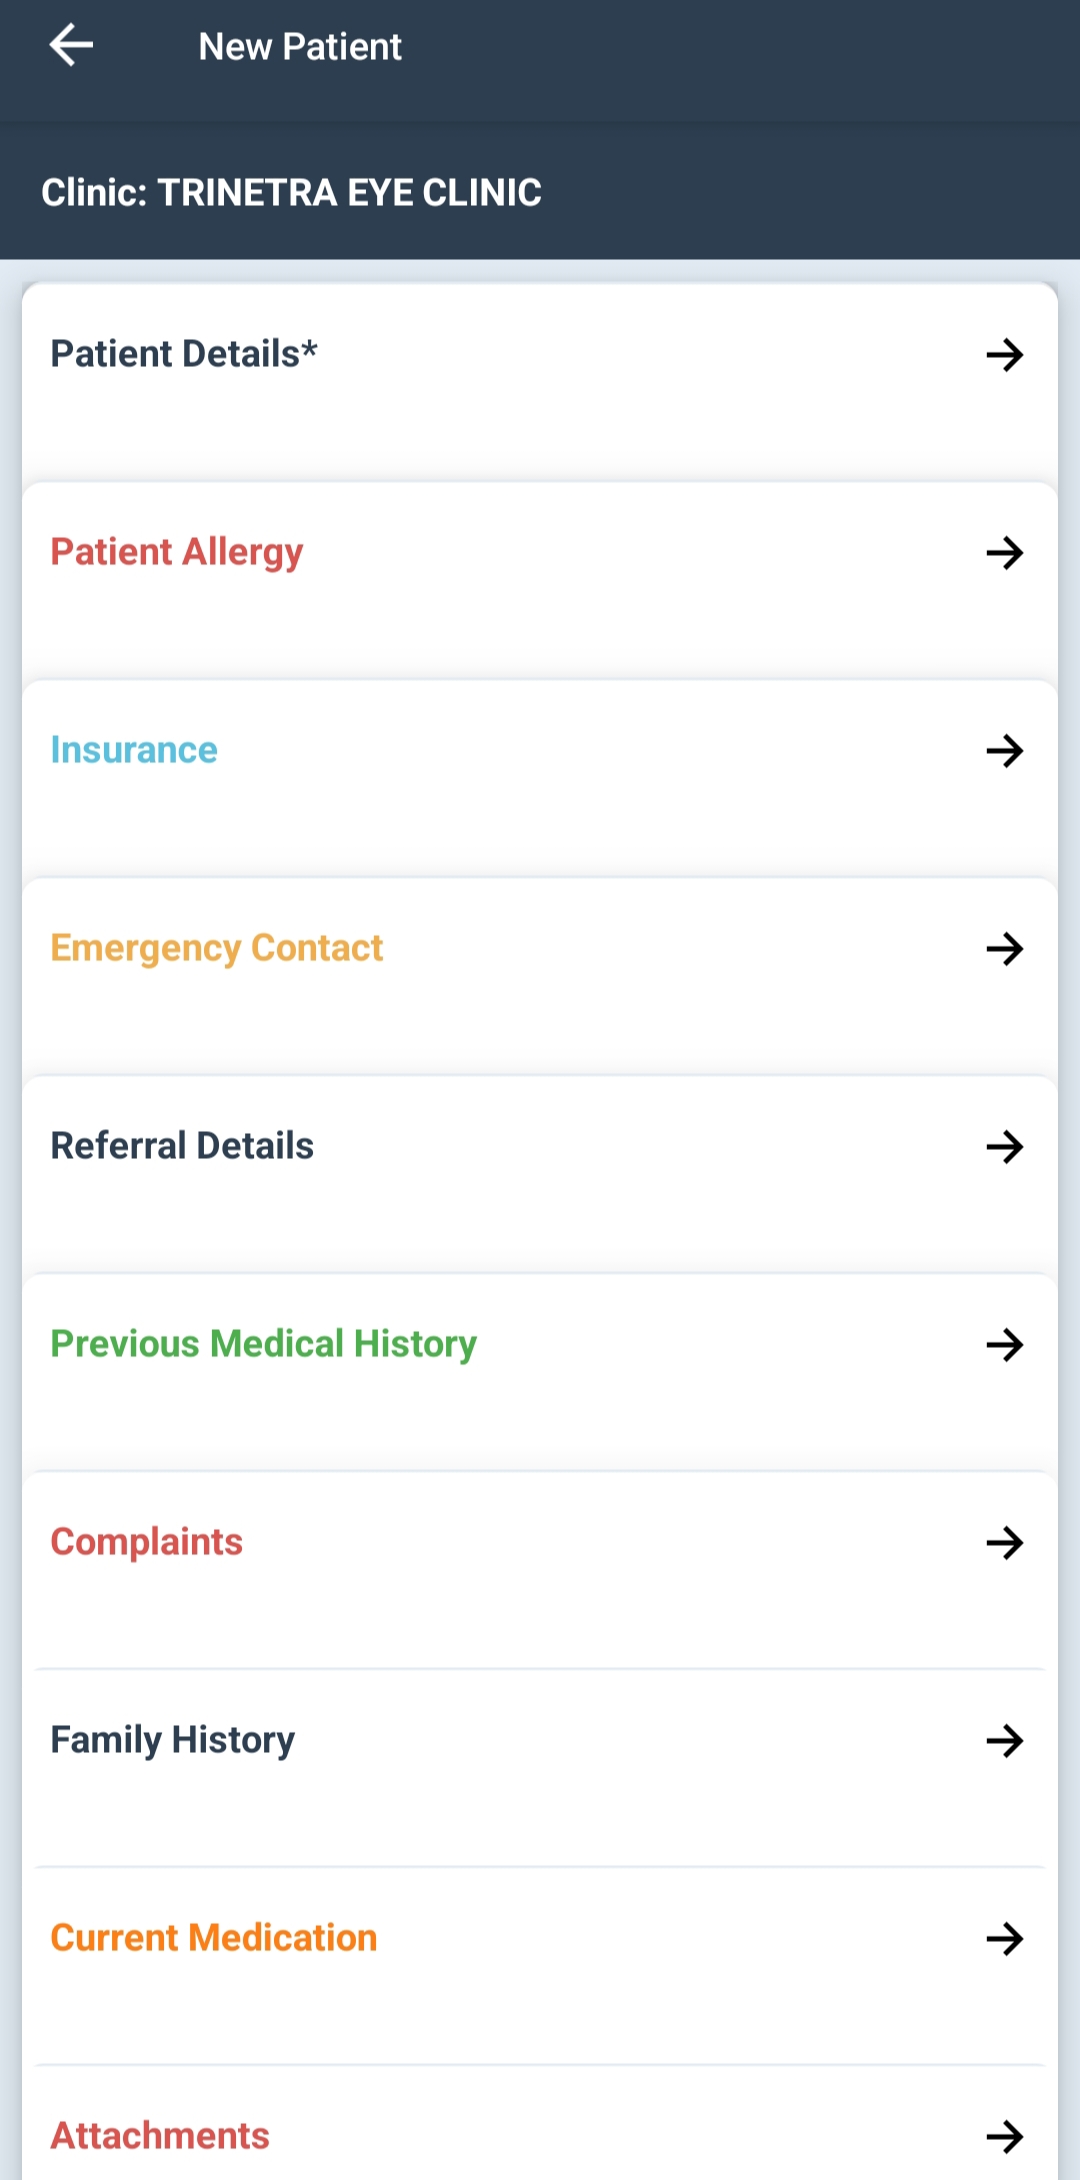
- This screen allows clinic staff to add a new patient to the consultation queue while capturing essential details and clinical notes.
Sections & their Functions
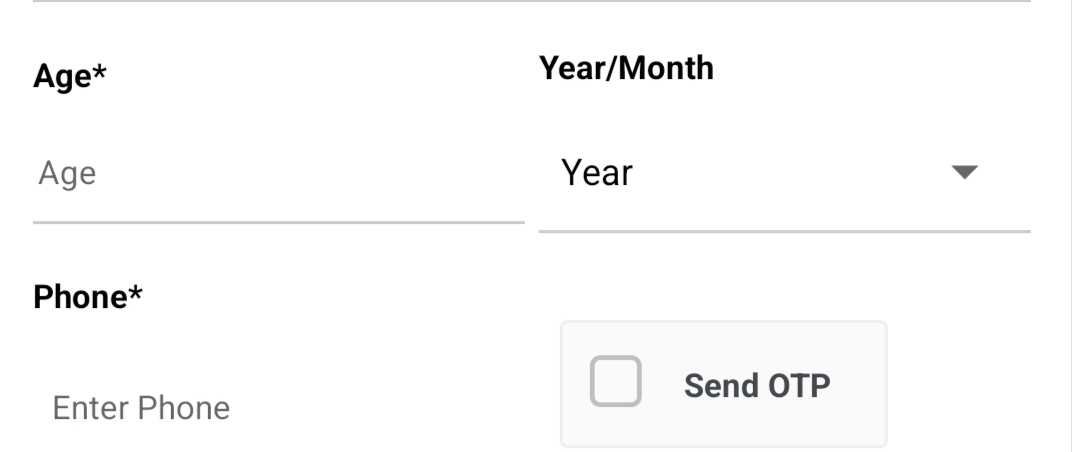
Step 1: - Patient Details: Enter basic Patient information, Demographic or address details (Mandatory- Name, Age, Gender, Phone Number)
-
Mobile Number Verification
- Enter Mobile Number
- Tick the check box for ‘Send OTP’
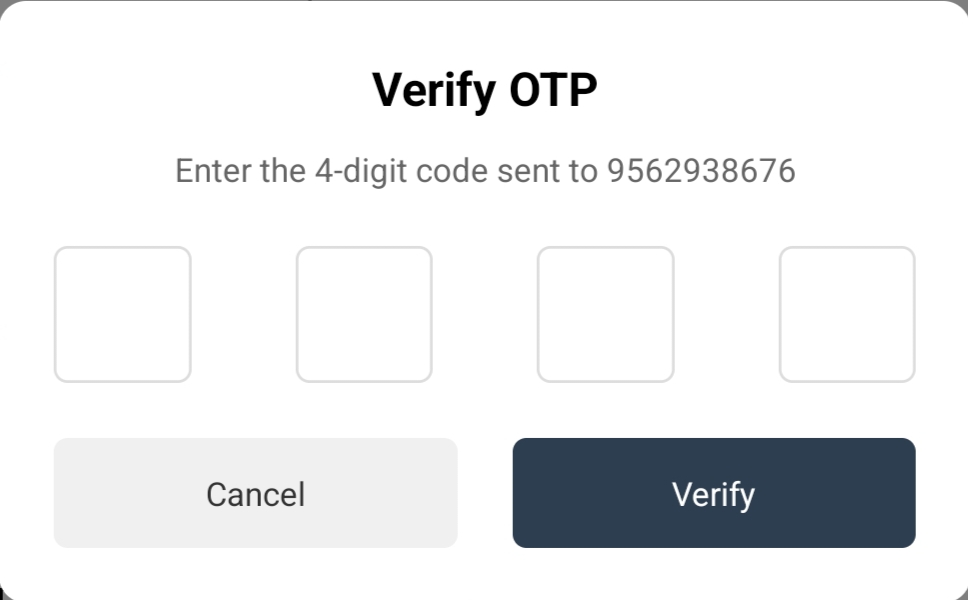
- Enter the 4 digit OTP send to the registered Mobile No.
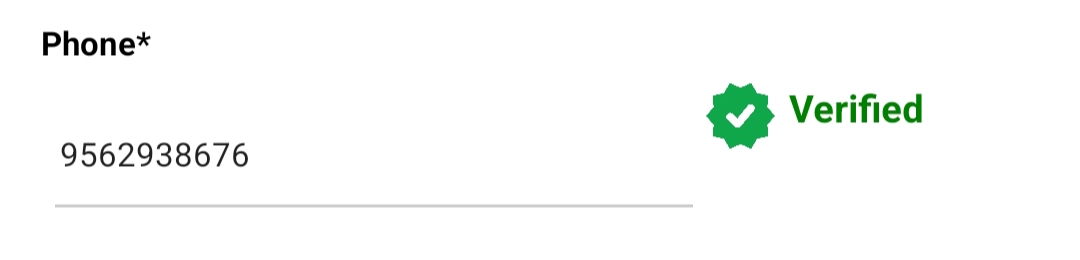
- If Valid - Green Checkmark Icon- Indicates that the Phone Number has been successfully authenticated.
- If Invalid - An Error message appears like ‘Invalid OTP”
-
Step 2:
- Check Boxes: Check boxes for Organ Donor, Bio Hazard, Immunization. This will reflect in the Dr Screen.
Step 3: - Patient Allergy: Can Serach/type the allergic medicines. An alert message will appears when Dr. prescribing the medicine. Step 4:
- Insurance: Add Insurance details (Insurance No./Insurance Provider), if insured.
Step 5: - Emergency Contact: Full Name/email id/ Ph.No./Address of the person to be contacted in case of a medical emergency. And also add the relationship of the emergency contact to the patient (Eg: Father/spouse etc.)
Step 6: - Referral Details: Name of the referred Dr.or clinic/Phone no./email (for follow up or co-ordination)
Step 7: - Previous Medical History:
- Medical Description (Drop Down): Select a relevant past medical issue or treatment from the predefined list (e.g., Diabetes, Eye Surgery, Stroke). This helps clinicians quickly identify high-risk conditions.
- Comment: Add any extra notes or specifics related to the selected condition (e.g., “On insulin for 5 years”, or “Surgery on left eye in 2022”).
- Duration: Enter the time since the condition started or was diagnosed (e.g., "3 years", "6 months"). Useful for understanding chronicity and progression.
➕ Button-Add a new Medical History
🗑️ Button-Deletes the corresponding entry
Step 8:
- Complaints
- Description: The Patient’s main symptom/compliant (Eg: Redness,mWatering etc.)
- Comments: Additional notes or context about the complaint.
- Eye: Indicates if the complaint relates to one or both eyes (options: Left, Right, Both)
- Duration: How long the patient has experienced the complaint
➕ Button-Add a new Complaint
🗑️ Button-Deletes the corresponding entry
Step9:
- Family History: Select a relevant medical issue from the predefined list/add comment and duration.
➕ Button-Add a Family History
🗑️ Button-Deletes the corresponding entry
Step 10: - Current Medication : Enter current medication if any
Step 11:
- Attachments: Add attachments/Comments and upload or delete the files
Step 12: - Check Boxes
- Foreign Checkbox - To indicate that the patient is a non-National/International individual
- VIP Checkbox-To flag patients who require special attention, privacy, or priority handling.
Step 13:
- Patient Type & Flags (Check Boxes)
- Camp/Emergency/Follow up/Review Paid/Vulnerable/Post OP/Free OP.
- It will reflect in the Dr screen.
Step 14:
- Reception Notes: Receptionist can add additional notes if any.
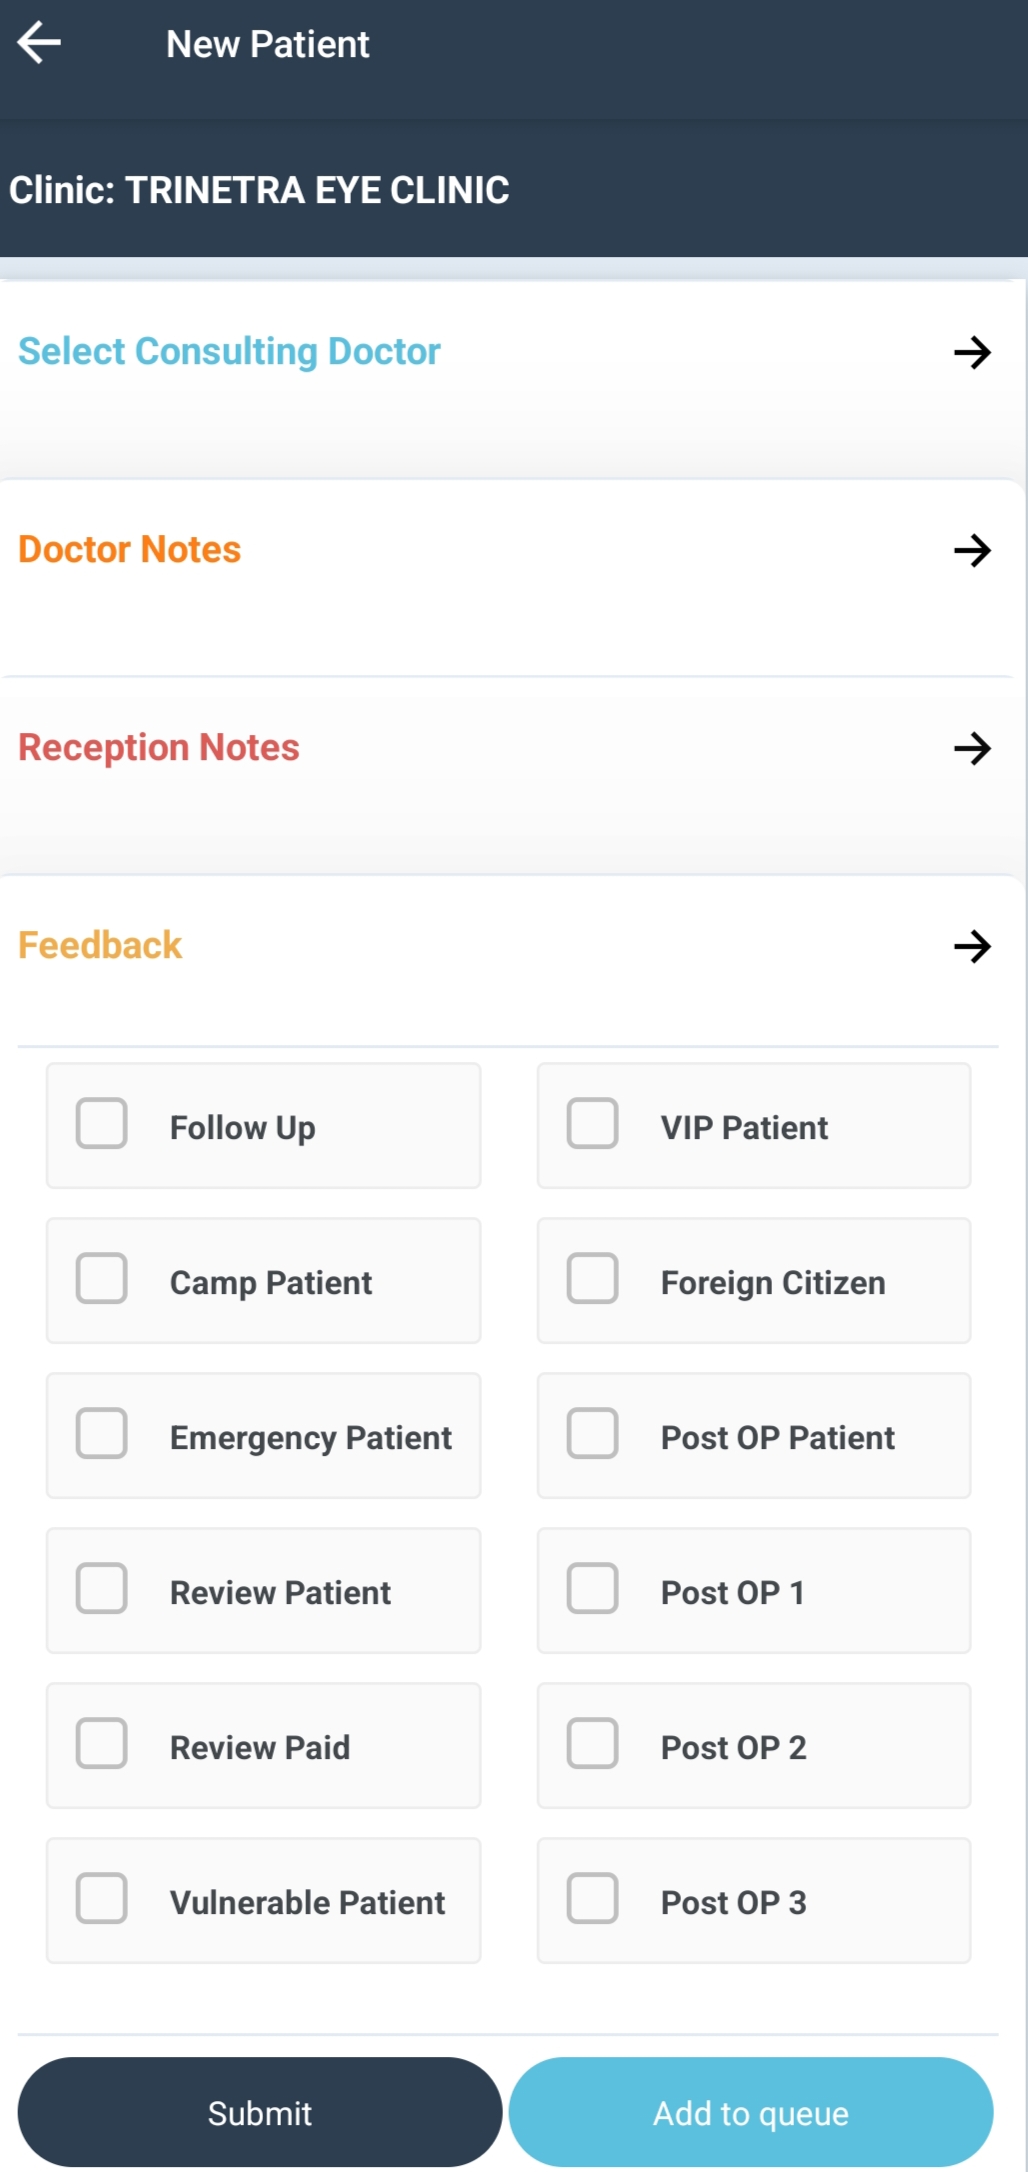
Step 15:
- Submit (Dark Button): Saves the entry and exits the screen.